
Note: If you are unable to access the web interface of your gateway at this point, you can refer to the getting started guide for instructions on how to log into your gateway and find the assigned IP Address.
Initial Step: Now you have the IP Address you can use it to access the gateway’s web interface. Launch your chosen web browser and type http://<your-ip> e.g. http://192.168.1.188. This will display the gateway’s set-up page.
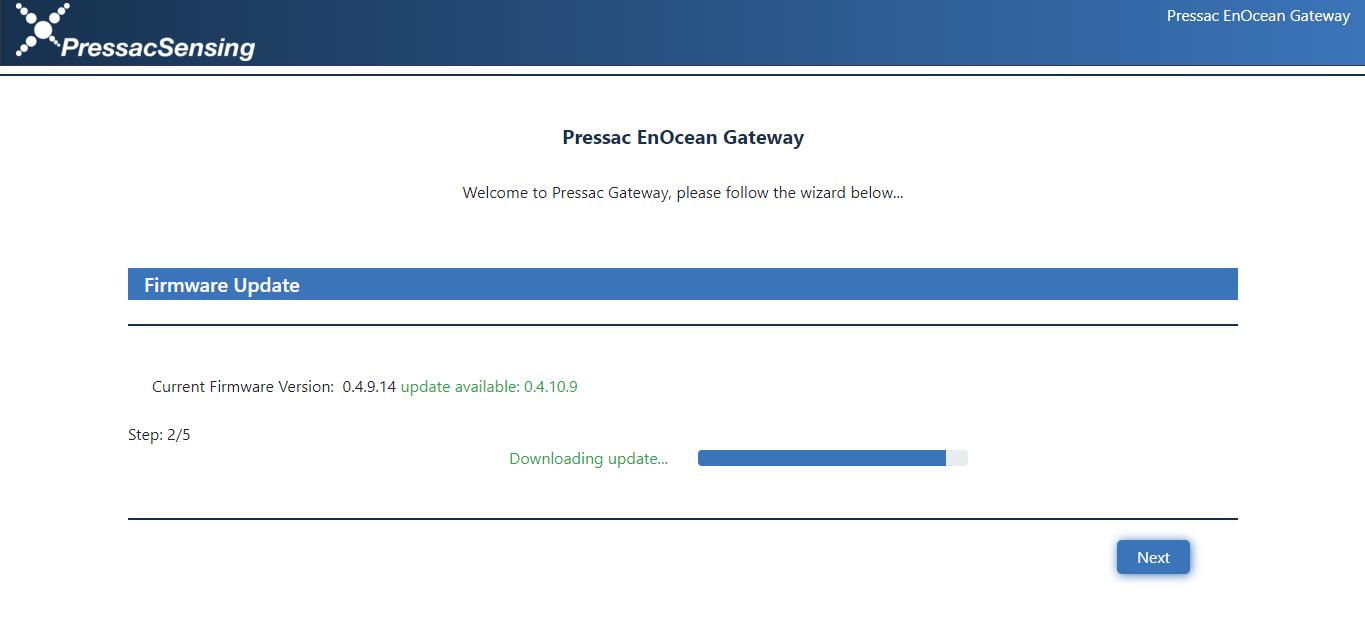
If there has been a new firmware update between receiving and the initial setup of your gateway you will receive an update option when accessing your gateway for the first time. If you wish to update straight away select “Install this update now” (recommended) but if you wish to update later, select “Update gateway firmware later” and refer to this guide.
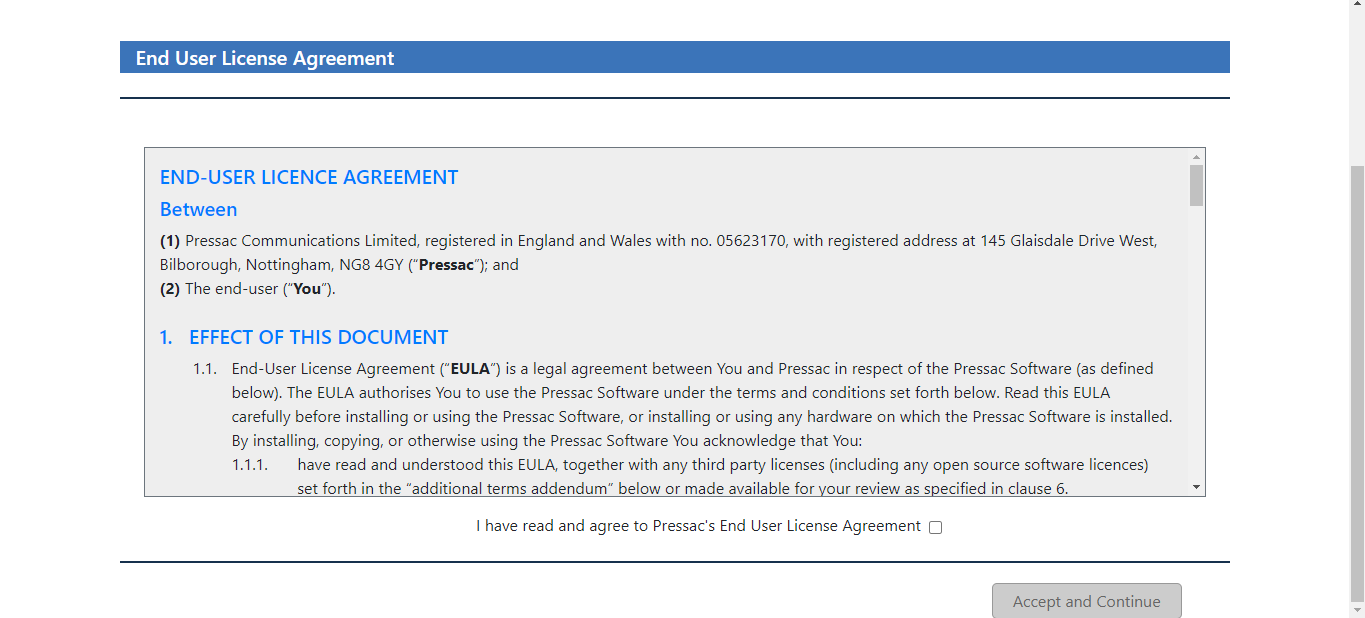
First, read the “End-User Licence Agreement” then proceed accordingly.
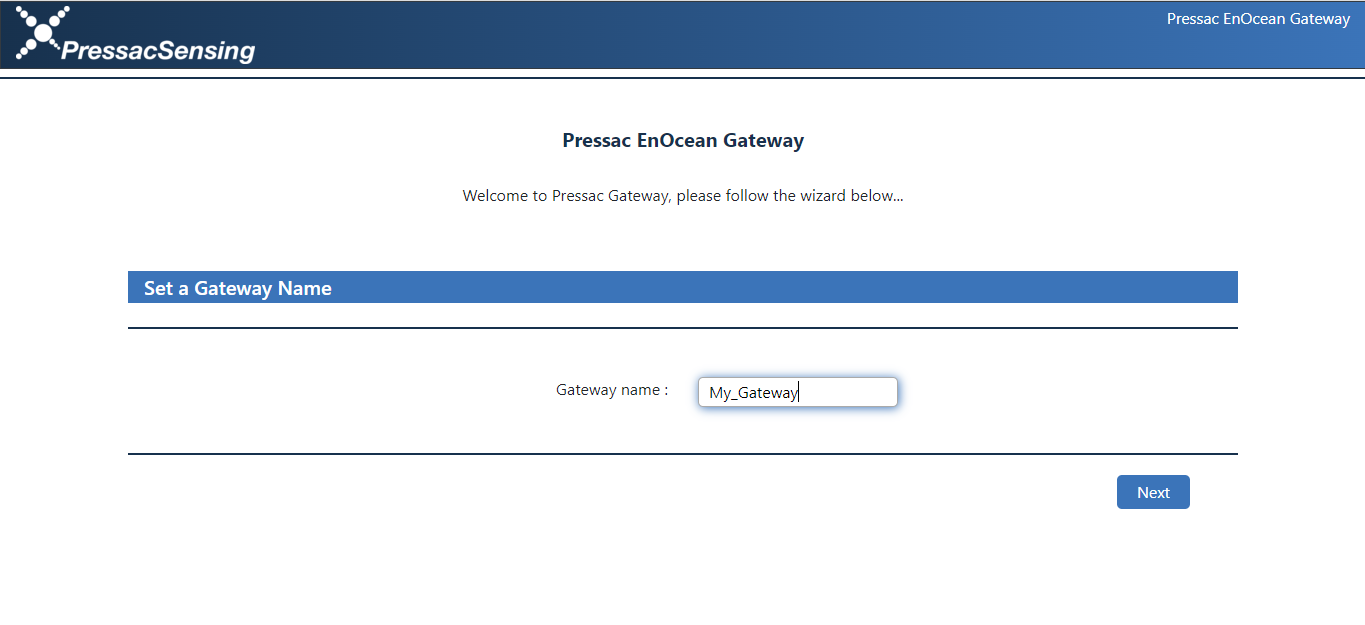
After proceeding you will need to assign a name to your gateway. This will be how you identify the gateway when connecting to it, as well as send data to various platforms. As a general guide, we recommend that you have the location of your gateway within its name for ease of identification, such as the examples below.
Main-Office
Server-Room
Production-Area
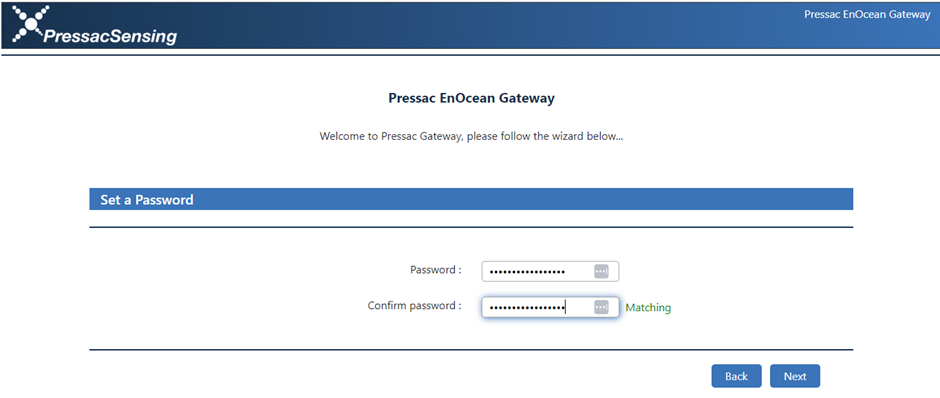
Once you have assigned your gateway a name, you will need to set-up a password to log in.
Password must be at least:
- 15 characters long characters long and contain at least three of the following:
- Lowercase characters (a-z)
- Uppercase characters (A-Z)
- Digits (0-9)
- Special characters (~!@#$%^&*_-+=`|\(){}[]:;”‘<>,.?/)
Your gateway has now been setup for use.
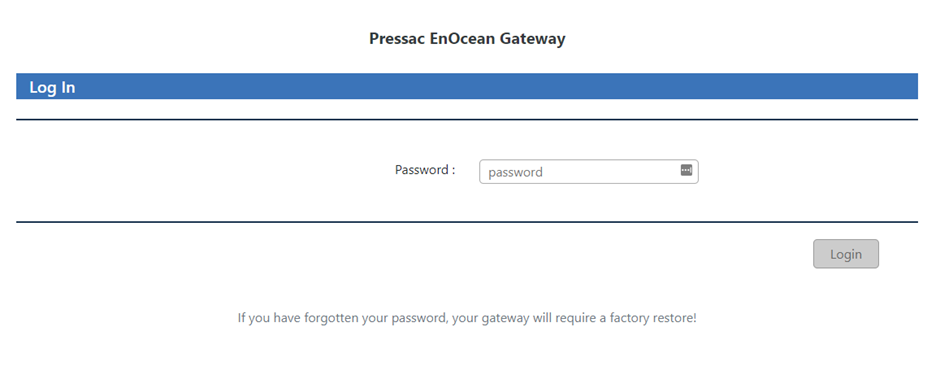
Once you have set the password, you must then log in to the Gateway.
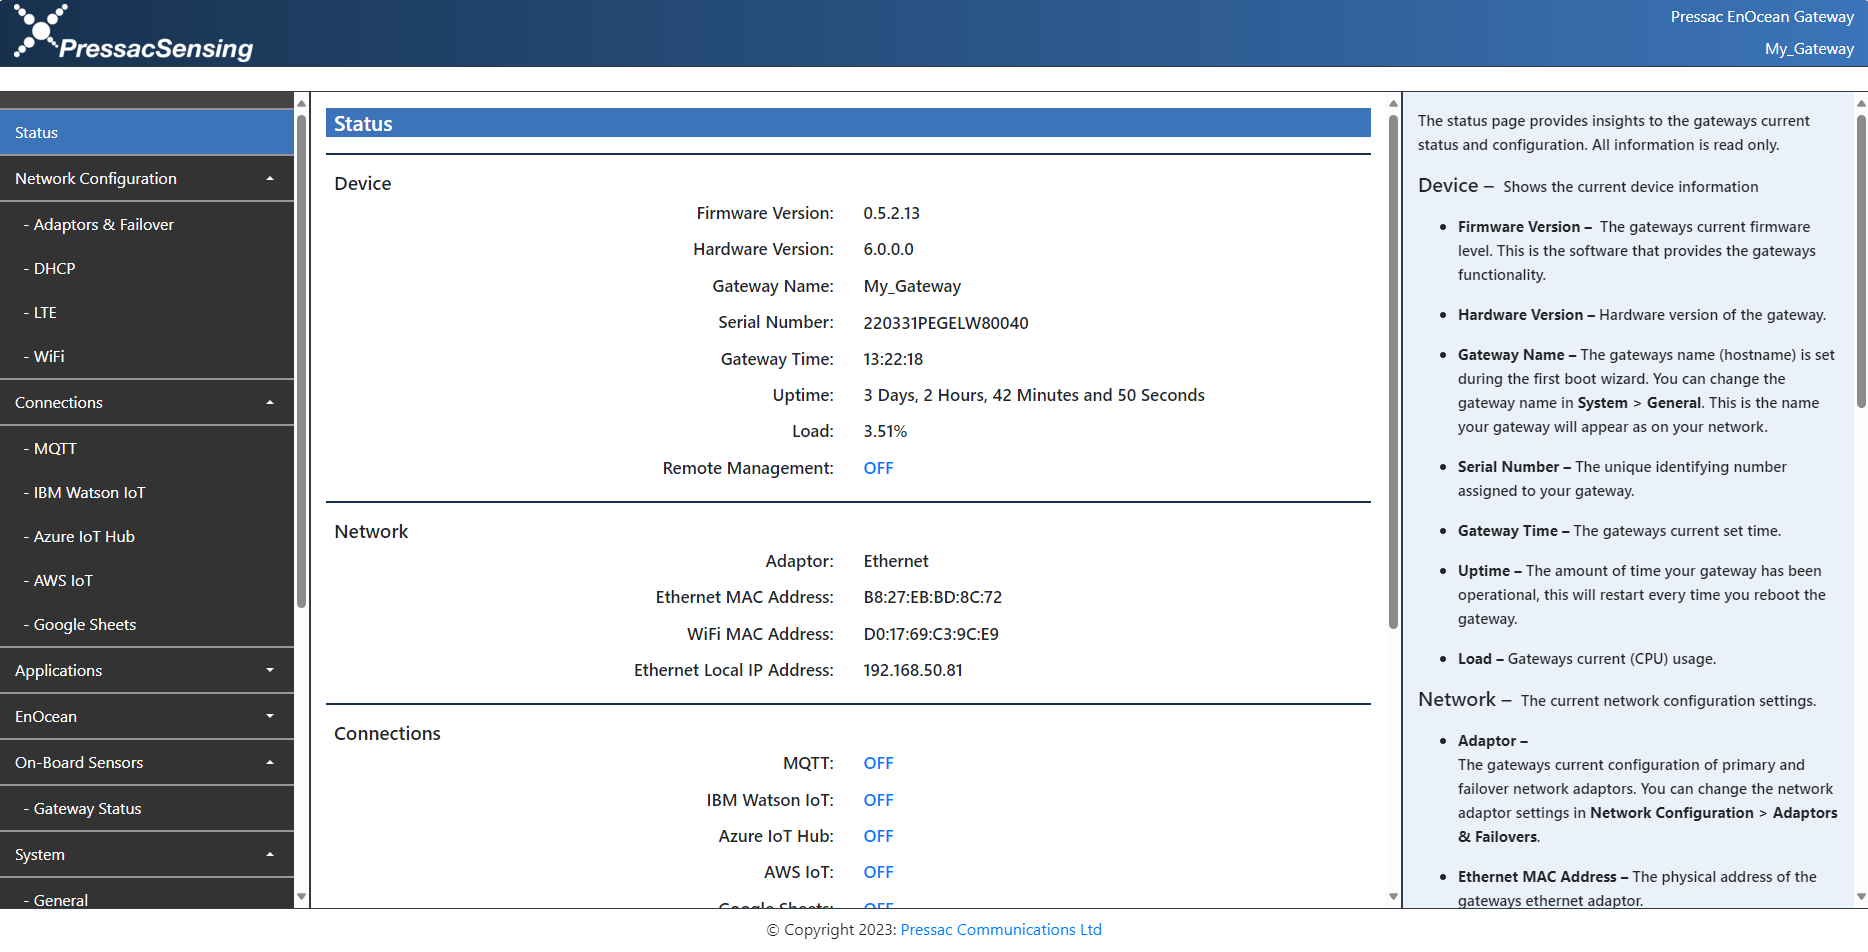
You are now logged in to your Gateway, and should see the status screen.
You can now log into your gateway, you can do this by following this guide.